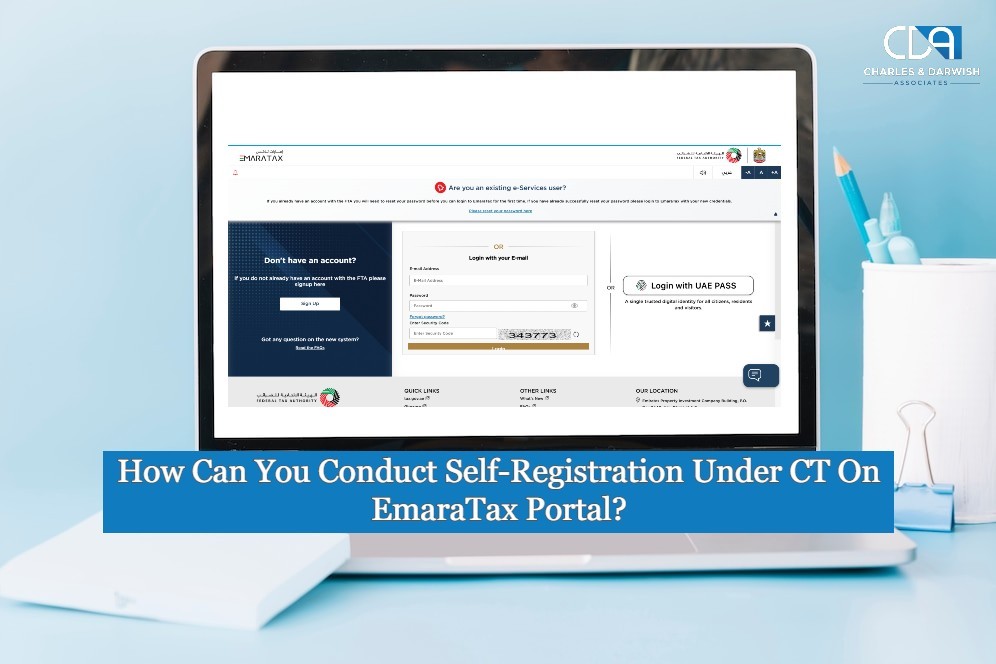
How Can You Conduct Self-Registration Under CT On EmaraTax Portal?
In the UAE, taxation processes are seeing a major shift. With the recent development of the corporate tax, it is presently a new dawn for the Emirates’ fiscal policy. The introduction of EmaraTax is yet another innovative step in the UAE tax administration system. EmaraTax has been perfectly poised to accelerate the Emirates’ fiscal arena since its inception.
And if you are someone who is new to the tax regime or need to register your business entity for tax purposes in the UAE, you’ve come to the right place. Read ahead to find out exactly how you should self-register under corporate tax on the EmaraTax portal.
Self-Registration Under Corporate Tax on The EmaraTax Portal
Any financial or tax-related process requires a ton of paperwork, on top of time. This is the exact reason EmaraTax came into being. By self-registering on the EmaraTax portal, you can conveniently self-register your business(es) and fulfil your tax obligations efficiently and with much less paperwork involved.
You can also take the help of seasoned professionals from top auditing and accounting firms like CDA to help you navigate the entire process, or simply delegate the entire task.
How To Self-Register on The EmaraTax Portal: Step-by-Step Guide
Getting down to business, it is important to know the exact procedure to self-register your business entity on the portal. We’ve listed down the process for self-registration:
-
Step 1: Sign into EmaraTax
You can sign into EmaraTax using either your credentials or the UAE PASS system. After signing in, you automatically get access to your dashboard, where you can view any taxable persons already registered against your account.

Step 2: Start Registration
Choose the "Register" section from the list of options provided under the Corporate Tax tile. At this point, you will be led to the registration application process. You can only self-register for UAE corporate tax if you aren’t registered for VAT or excise tax.
After clicking on ‘Register,’ go through the guidelines and instructions displayed on the screen and then click the box marked to indicate that you have read them.
-
Step 3: Entity Details
Upon initiating the actual process for Corporate Tax self-registration, enter all information regarding your business entity; for example, entity type, entity subtype, legal structure, date of incorporation, etc.
Ensure that you have filled out all compulsory fields before moving on to the next step.
-
Step 4: Qualifying Public Benefit Entity
Clarify if your business is a qualifying public benefit entity here. Enter your ‘Cabinet Decision Number’ and upload supporting documents for the same if you click ‘Yes’.
-
Step 5: Identification Information
Enter your corporate tax period and move on to the next step. Here, you need to add the details of your main business license, license number, and issuing authority. This would lead to authenticating your business.
-
Step 6: Business Operations
Add the relevant business activities related to the details of your trade license. This would be choosing from already-provided categories or adding specific activities that would describe the major operations of your business.
You can also read: How Can You Edit Corporate Tax Bank Details on the Emaratax Portal?
-
Step 7: Add Owner and Contact Information
Include information on the owners, especially the name and identity number.
Specify if any party does not hold more than 25% ownership in the business entity.
[Note: Registration is done only once and under the name of the head office and not any local branches.]
Next, provide the contacts in case of further communication, as well as the company address. If there are multiple parties involved, you need to mention details of everyone.
-
Step 8: Authorize the Signatory
Specify an authorized signatory who is going to represent the business in tax-related matters. The number of authorized signatories can be more than one.
-
Step 9: Review and Submit Application
After you have specified an authorized signatory, click on ‘Next’, and then review all information that you entered for accuracy before submitting the application.
This way, it will save your application from being rejected or loss of time due to any errors in the registration. Click on the checkbox to declare that you have verified the accuracy of the information in the application, then click on ‘Submit’.
Upon submission, you will receive an acknowledgement message and a reference number for tracing the status of your application.
-
Step 10: Await Approval
Applications for the Federal Tax Authority (FTA) will be assessed, and an email will be sent to you indicating the status of approval regarding your application. On approval, you will receive your Tax Registration Number (TRN), completing the registration process.
It is important to note that FTA will be corresponding with you or your business entity regarding approval or rejection of your application.
Self-registering under corporate tax on the EmaraTax might seem like a daunting task, but it is quite easy. Coupled with your UAE PASS, it is even easier to submit an application to the FTA.
It is also very important to have all your business-related documents ready when you opt for self-registration, along with ensuring that minimal errors take place during the application process.
You can also read: How Can I Make Changes to the Taxable Person Details Under CT on the Emaratax Portal?
Get Assistance from CDA
To assist further, experts at CDA can help you in the registration process without any hassle. So, if you are still on the fence about going for it the old-fashioned way or the digital way, go for efficiency. Our experts can assist you in getting all the documents sorted and ensuring that you stay complied with the corporate tax regulations. CDA’s tax experts are always on standby to assist you anytime. To know more about CT services, make a call to CDA.

Mark Thompson
Full-stack Developer, Blogger, and Tech Enthusiast.
Mark specializes in digital marketing, SEO, and content strategy.